Getting Started: RealTracs
Scheduling
Step 1
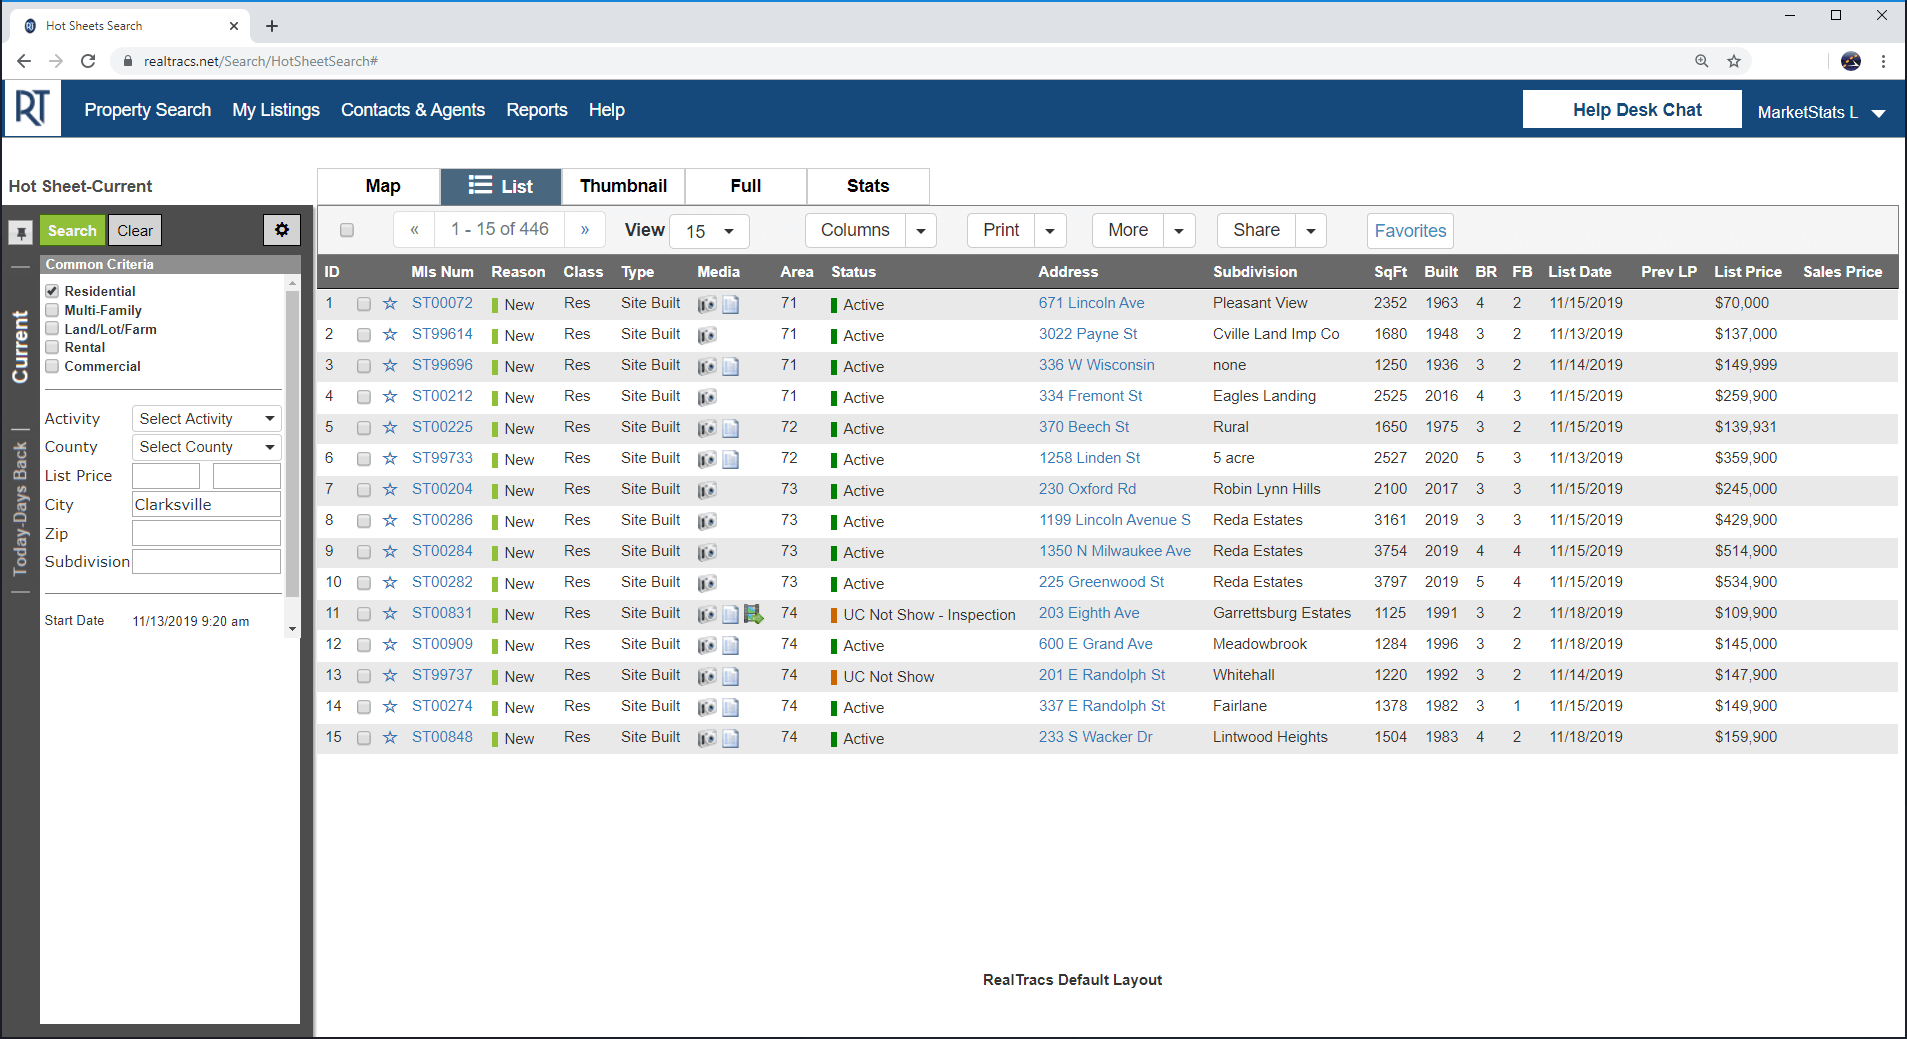
Start off by using Quick Search on the home screen to find the listing for which you would like to schedule your appointment.

Click for a larger image
Step 2
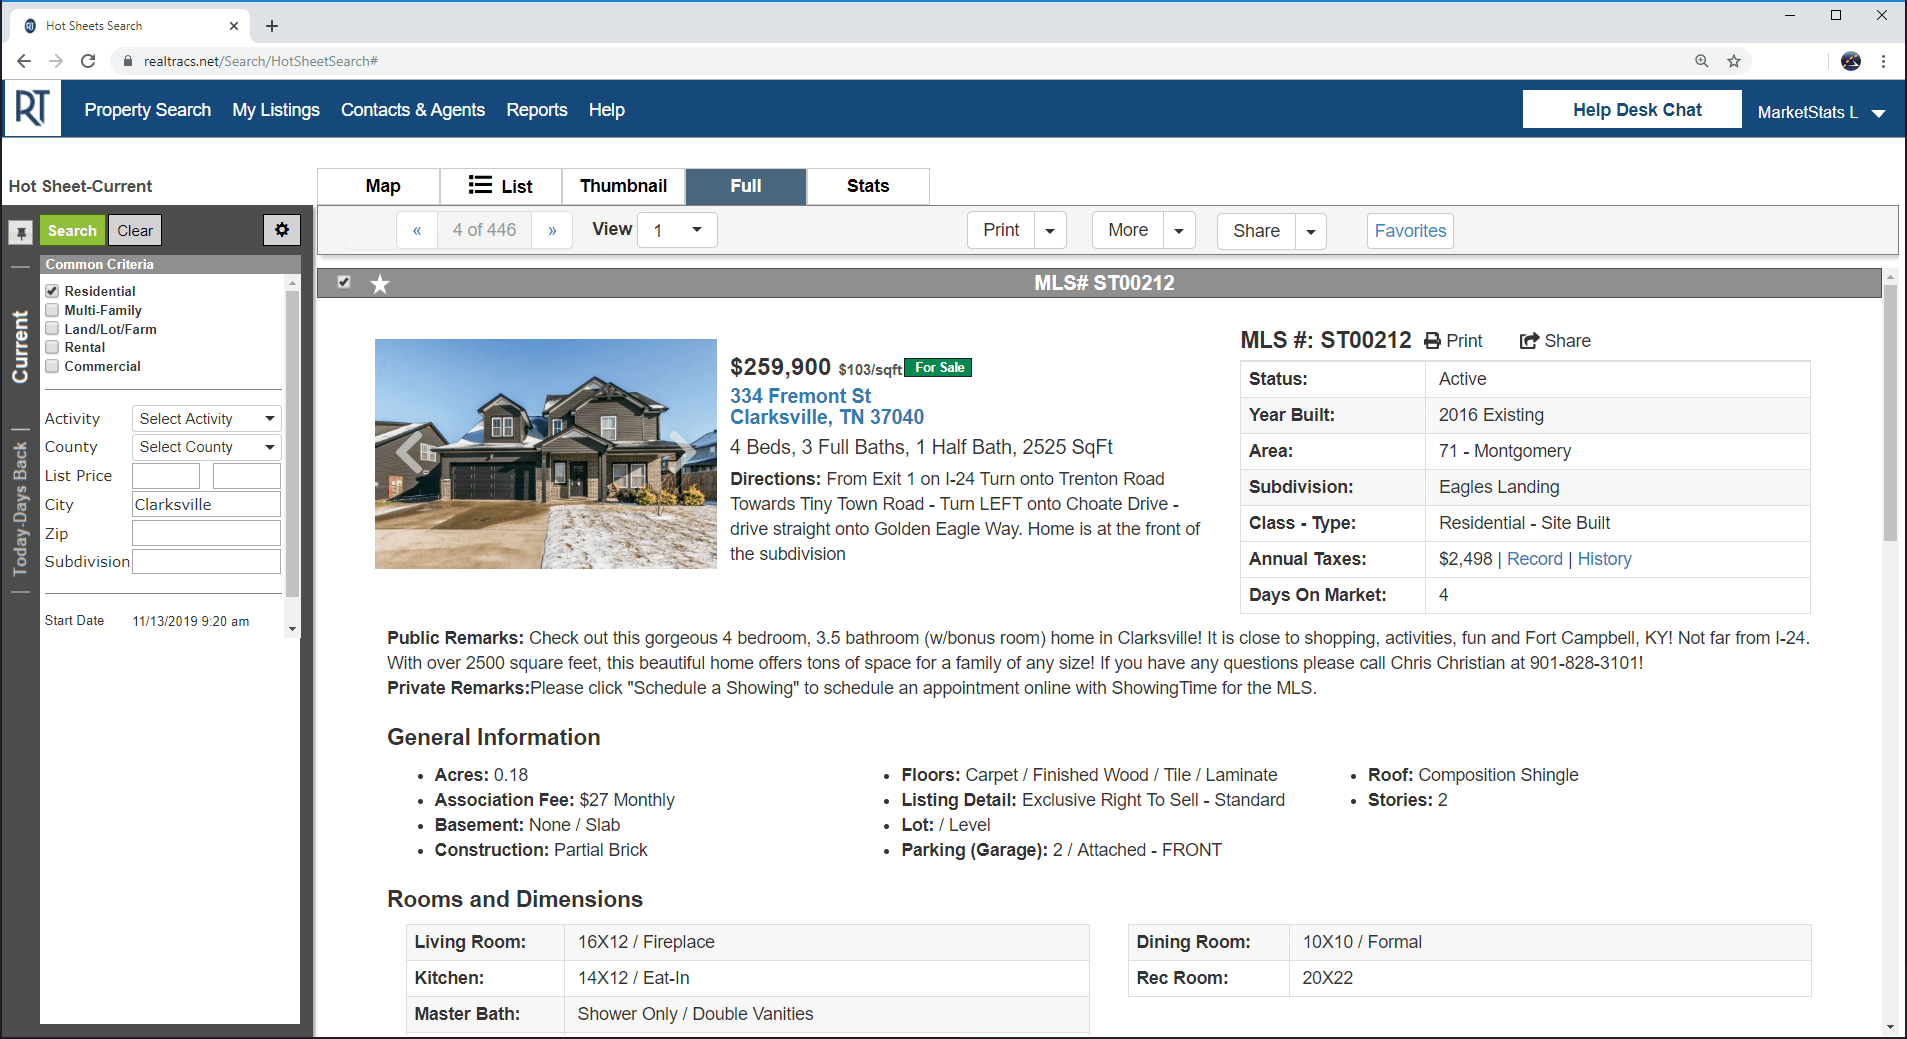
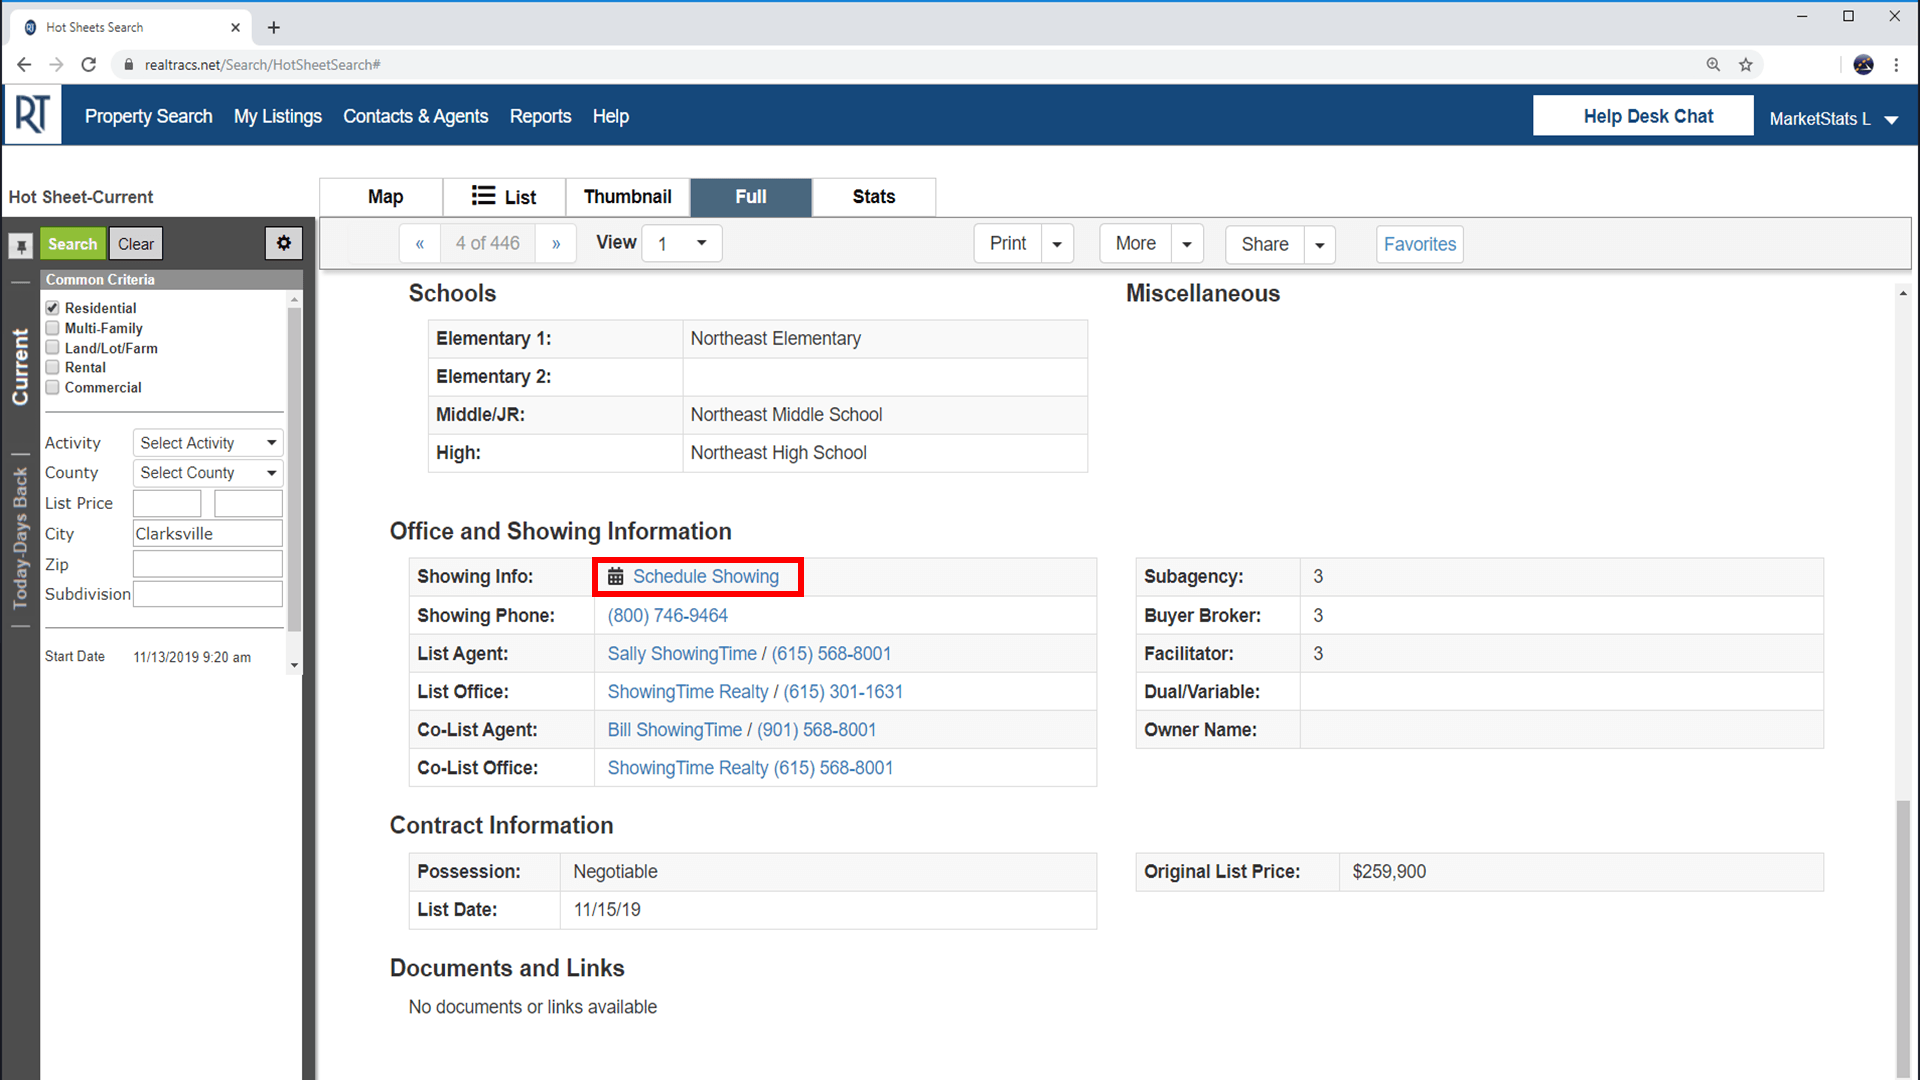
View the listing and select Schedule Showing.

Click for a larger image

Click for a larger image
Step 3
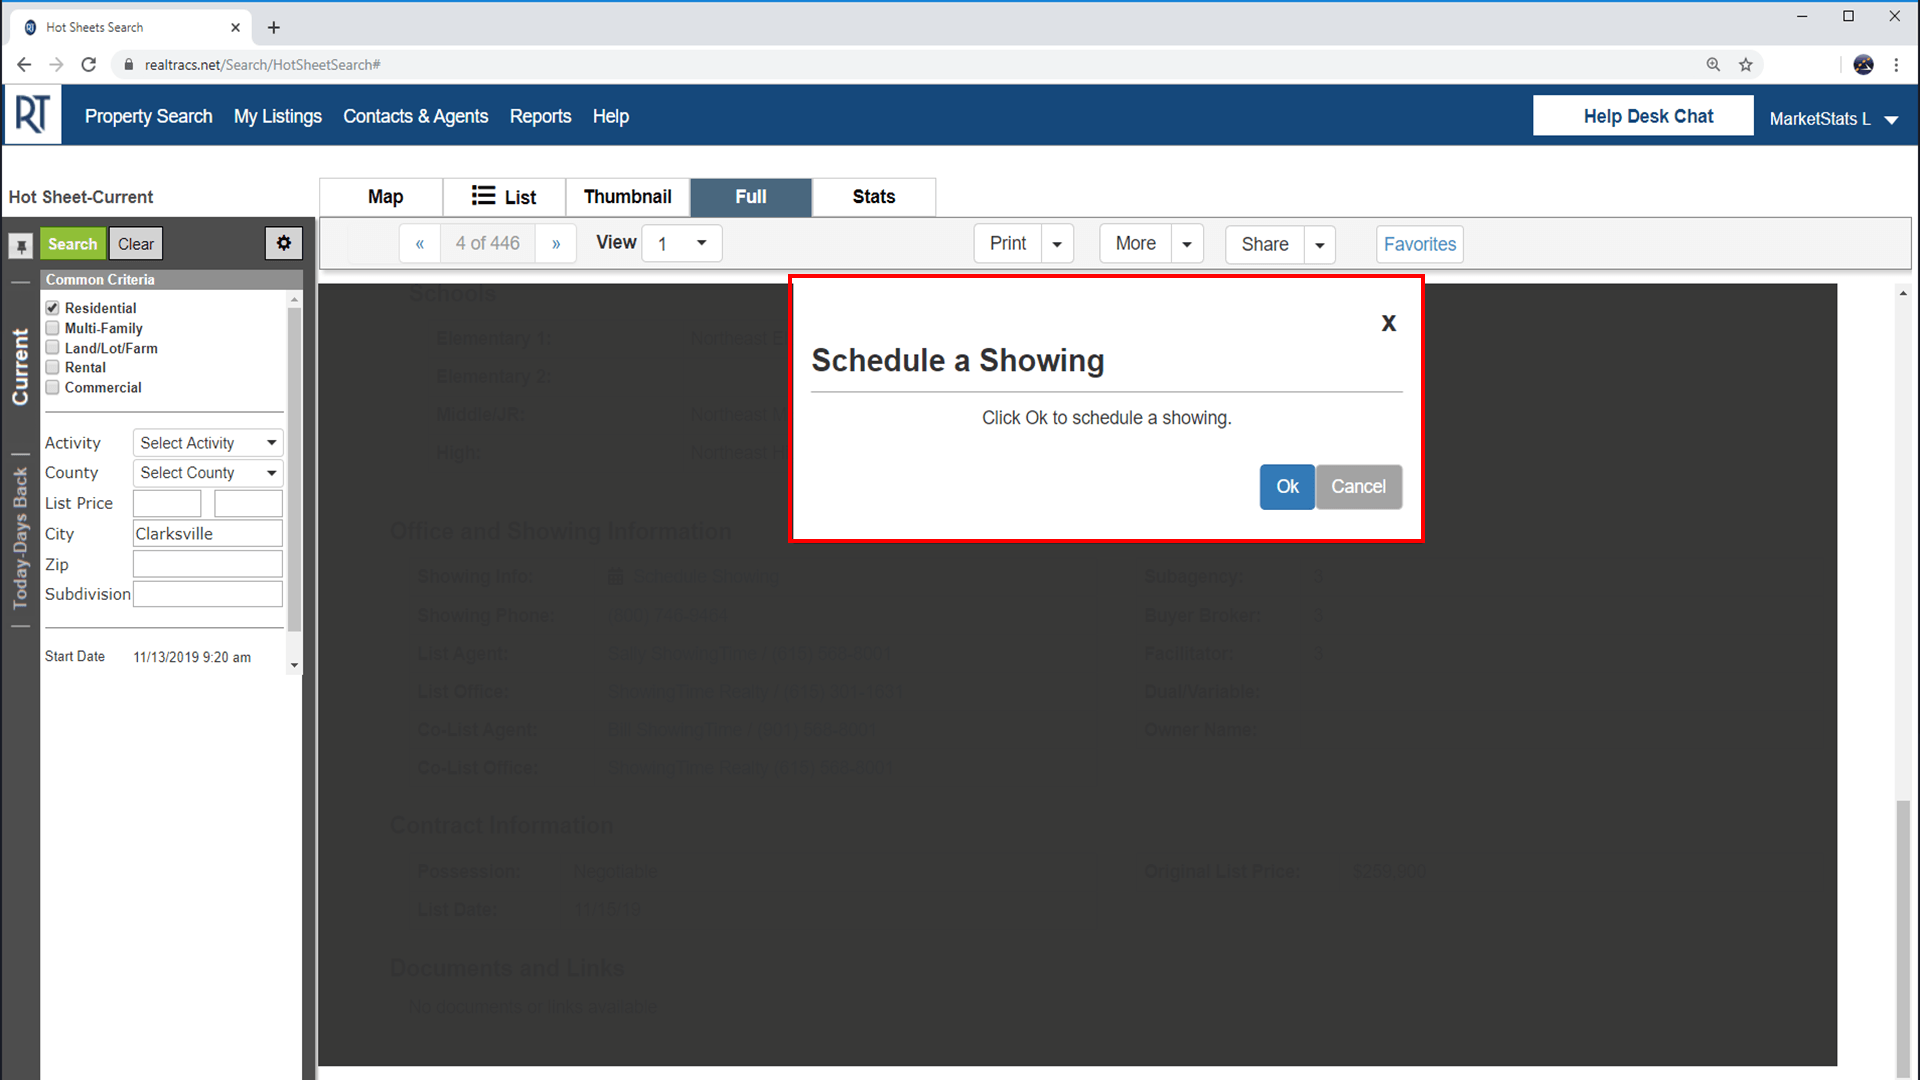
Choose OK to schedule.

Click for a larger image
Step 4
You should now be looking at the ShowingTime scheduling interface. From here you can schedule in two ways:
- As a Single Showing
- Using ShowingCart
Learn More: Scheduling > ShowingCart
(If you don't see the scheduling interface, make sure that a new tab or window hasn't been opened. If you have checked and the scheduling interface still hasn't opened then make sure that you have allowed popups from within your browser.)
Members are advised to never forward ShowingTime notifications. Read more.
Note: The images and screens used in our training materials are a general representation of how ShowingTime for the MLS (formerly Showing Assist) integrates into your MLS. Some MLS- or vendor-controlled elements may appear differently than shown above. The ‘Schedule a Showing’ button might also differ in shape and size from what is shown above.
ShowingTime will refresh this information regularly when updates are made. Please contact support@showingtime.com with any questions on the integration in your MLS.
ShowingTime will refresh this information regularly when updates are made. Please contact support@showingtime.com with any questions on the integration in your MLS.


